Create a merchant account
This page is only relevant for you if you plan to use Layer1's Payment Services—merchant-facing crypto checkout experience.
To create an account for merchants, do the following:
-
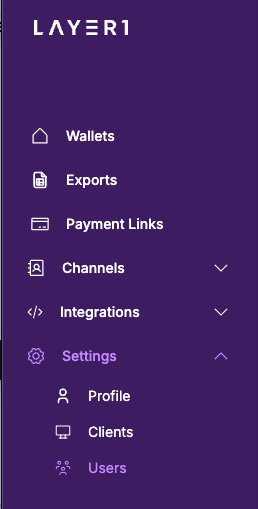
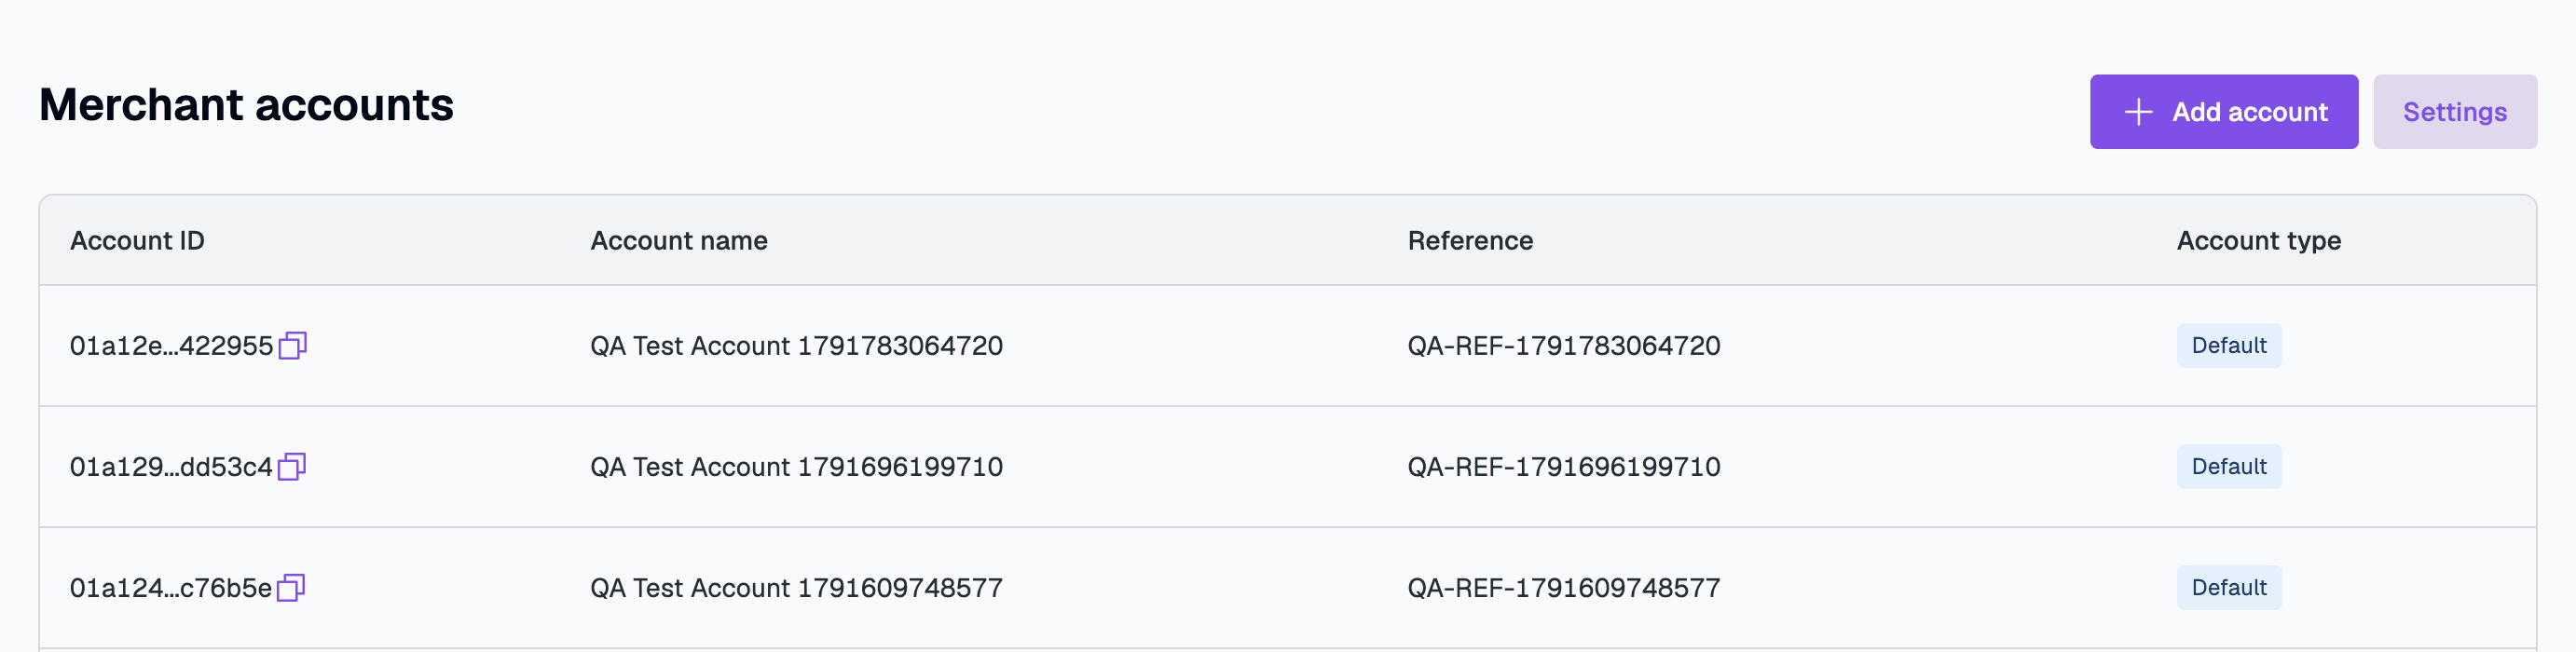
Go to Merchant Payments > Merchant accounts.
-
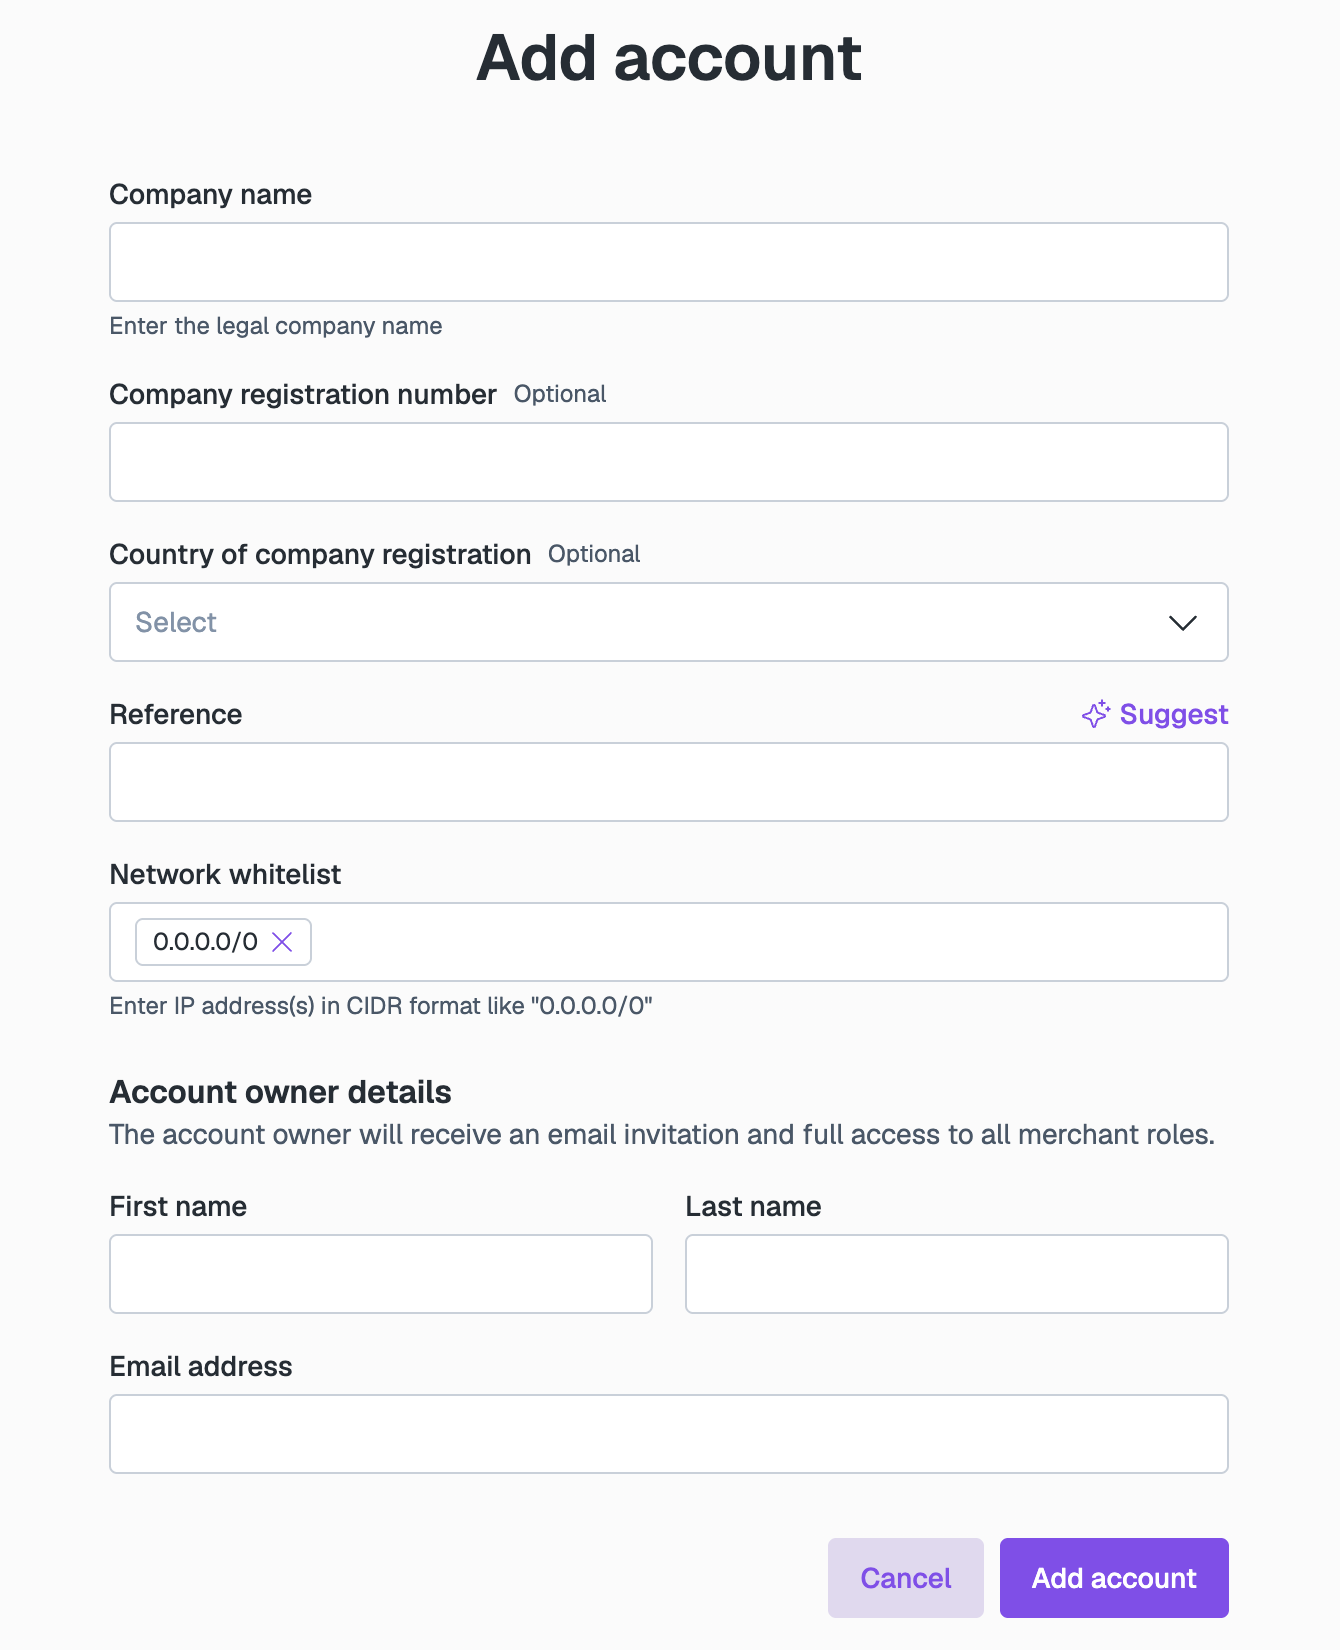
Click Add account and in the Add account form, complete the following fields:
-
Company name: Enter the legal name of the future merchant account.
-
Company registration number: Optional. Enter the company's registration number.
-
Country of company registration: Optional. Select the country where the company is registered.
-
Reference: Enter or click Suggest to add the unique ID of the account to be used internally.
-
Network whitelist: Enter IP addresses to restrict platform access for the admin user and the API key of this account. Otherwise, keep the default
0.0.0.0/0. -
Account owner details: Enter the First name, Last name, and Email address of the admin user who will manage the account. The invitation message is sent to this email address, and this user has all merchant roles by default.
warningIf you’re exploring the account portal, use a different email address than the one you used for your tenant user.
Adding “+1” to your existing email alias is an easy way to do this, for example,
john.doe+1@example.com.
-
-
Click Add account. Check your email and complete the signup process by following instructions from the invitation message.
-
Go to the Sandbox Account Portal.
Add users
You can add users for your merchant in the Sandbox Account Portal. For that, go to Settings > Users. The flow is the same as adding users to the tenant. Use the Roles descriptions to provide appropriate access levels for users.