Add a contact
Contacts enable you to manage trusted addresses for both first- and third-party accounts to which you regularly send crypto. This allows for seamless transfers and withdrawals, while also enhancing fund security by minimising the risk of sending funds to an incorrect address.
Add a new contact
To add a new contact, do the following:
-
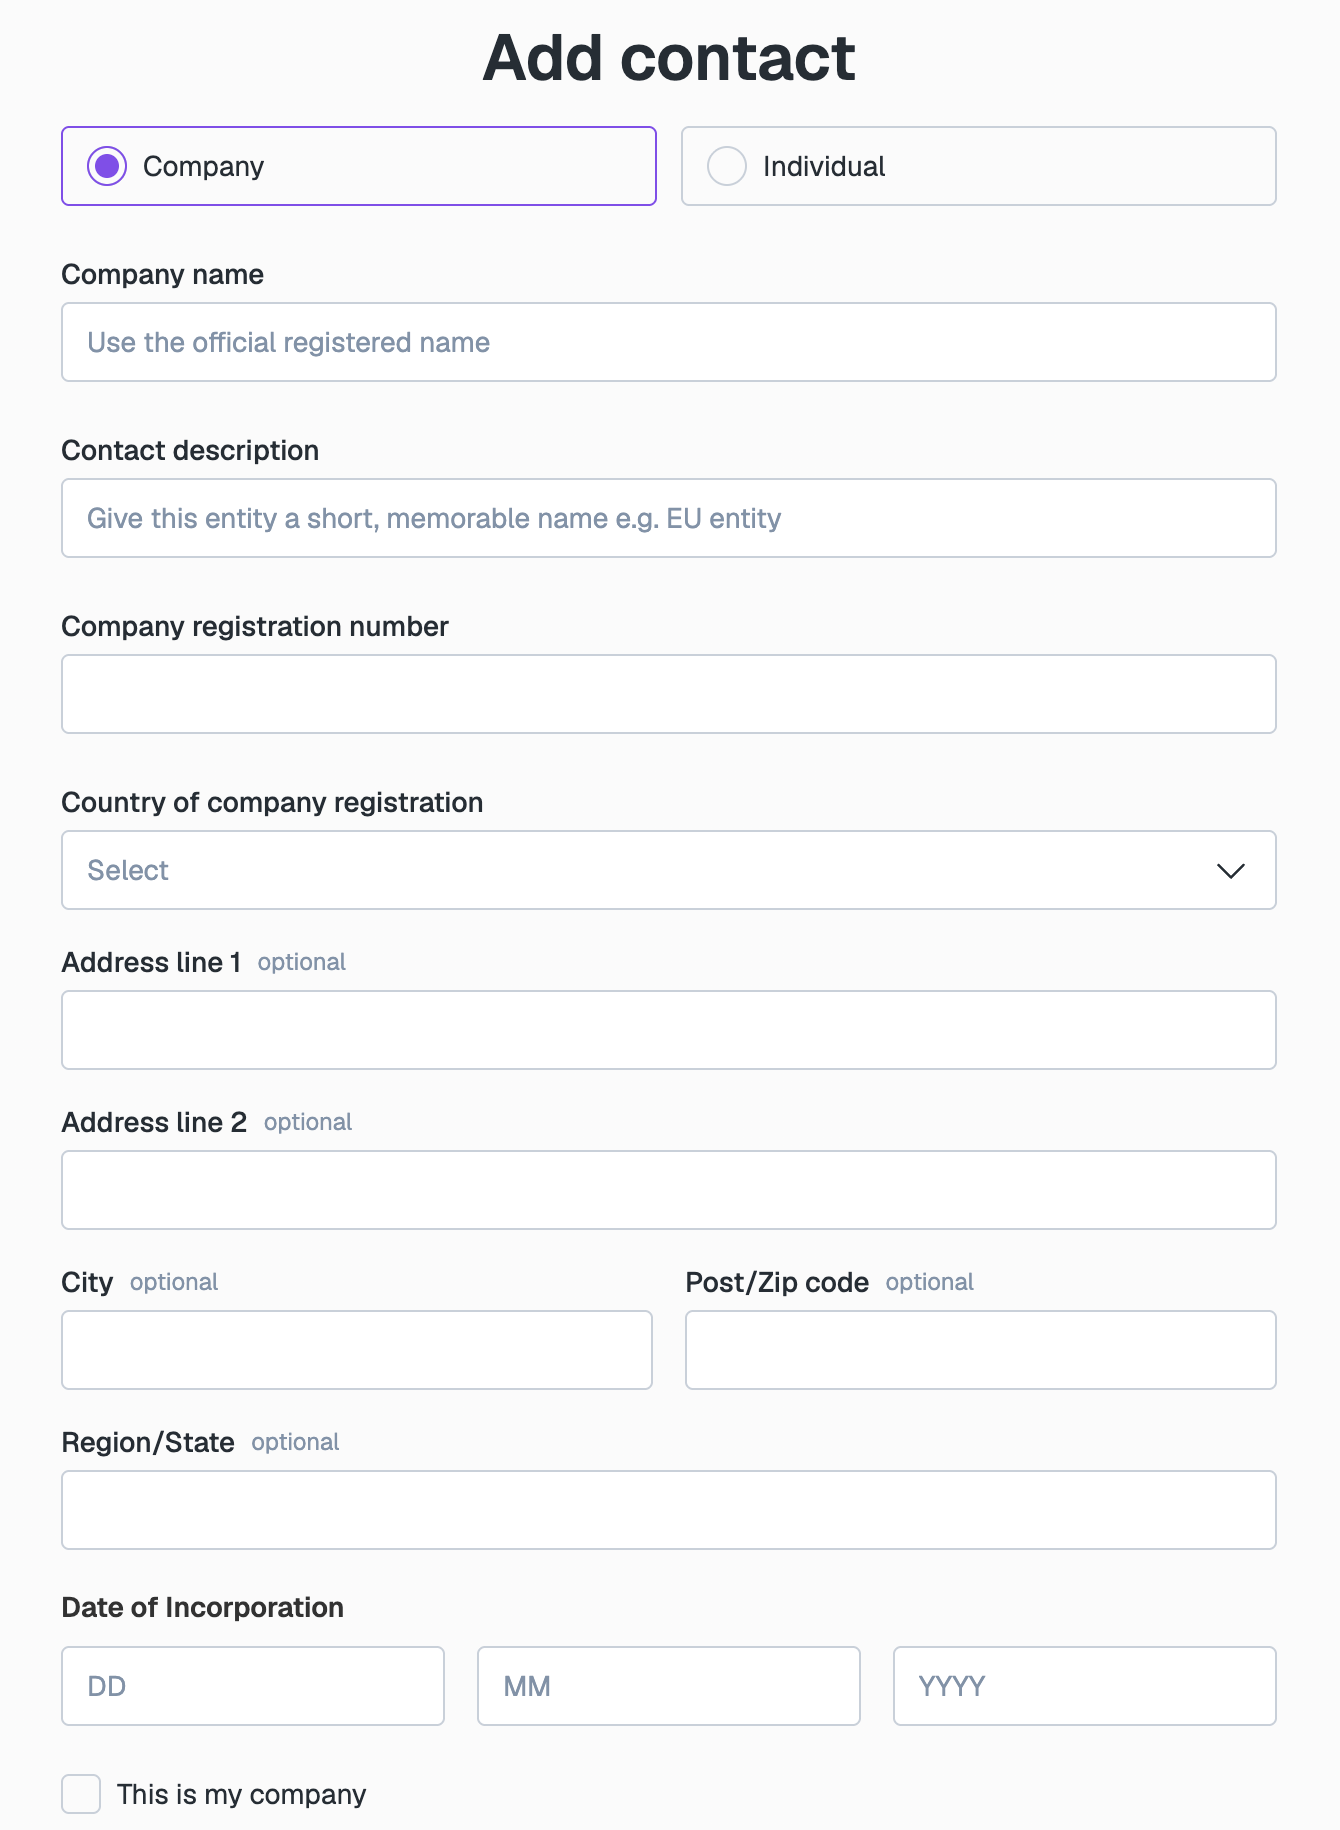
On the Portal, go to Digital Assets > Contacts and select Add contact.
-
Select the type of contact you want to create: Company or Individual, and complete the information required. Name and description fields are required. All other fields are optional but provide a valuable way for you to store information about a contact which may be needed for travel rule compliance purposes.
-
Select Add Contact to create the contact. You will now see this contact appear in your contact list.
Add a trusted address for a contact
To add a new trusted address for a contact, do the following:
-
Go to Digital Assets > Contacts and find the contact for which you want to add an address.
-
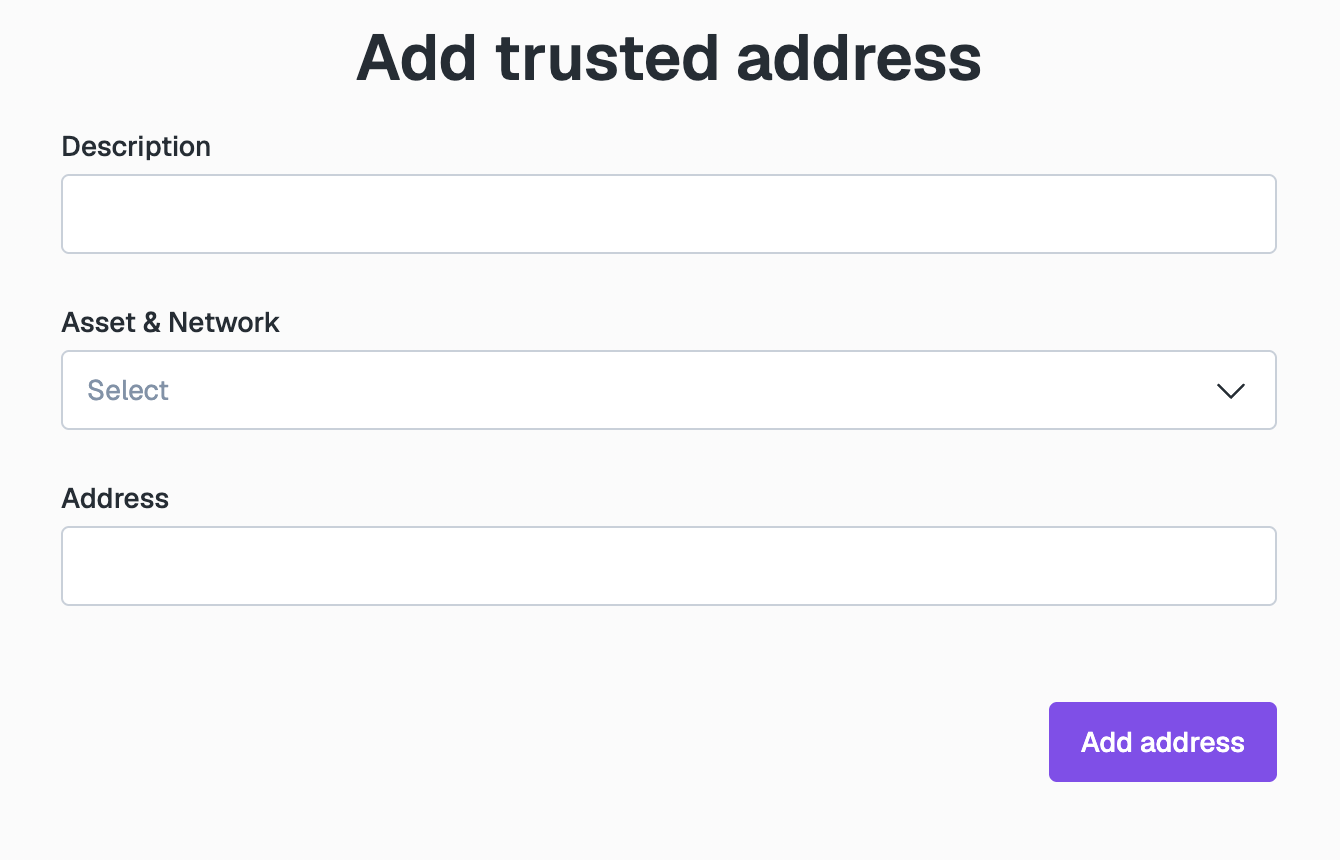
In the selected contact, click Manage Addresses, and then click Add address.
-
In Add trusted address, enter a Description to label the address, and select the Asset & Network of the address, for example, BTC (BITCOIN).
-
In the Address field, enter your crypto address.
-
Click Add address to save the address.
Restrict withdrawals to trusted addresses and require approval of trusted addresses
Storing trusted addresses allows you to add a layer of security to your fund withdrawal process by removing the need to copy and paste addresses you use frequently and reducing human error.
You can go further and add additional layers of security via Approval settings.
To restrict withdrawals to trusted addresses only, do the following:
- Go to Approvals > Settings.
- Select the tab Withdrawals and click Edit.
- Under Allow withdrawals to, select Trusted addresses only (recommended).
- Click Save.
To require approvals for adding and deleting trusted addresses, do the following:
- Before you start, set up an approver by assigning the
contact:address:approverrole to a user in Manage account > Team members. - Go to Approvals > Settings.
- Select the tab Trusted addresses and click Edit.
- Enable the rule to Require an approval when trusted addresses are created and deleted.
- Select the number of approvers you require.
- Click Save.