Approvals
Approvals add a second pair of eyes to sensitive actions. When an action needs approval, Layer1 holds it until enough users with the right role approve it. If a user rejects it, the action doesn't happen.
You can require approvals for the following actions. Each has its own tab in Approvals > Settings and its own approver role:
- Withdrawals: set on the Withdrawals tab. Approvers need the
crypto:withdrawal:approverrole. - Adding and deleting trusted addresses: set on the Trusted addresses tab. Approvers need the
contact:address:approverrole. - Changes to approval settings: set on the Approvals governance tab. Approvers need the
approval-settings:operatorrole. - Stablecoin mints and burns: set on the Issuance tab. Approvers need the
issuance:operatorrole.
The following rules apply to every approval:
- You can't approve your own request.
- One rejection is enough to reject a request.
- A request that isn't approved in time expires, and the action doesn't happen. The time depends on the action: for example, seven days for a withdrawal and one day for a mint or burn.
- Every vote is logged with the voter, the time, and the note given with a rejection.
To change approval settings, you need the approval-settings:operator role.
Approve or reject a request
- Portal
- API
To approve or reject a pending request, do the following:
-
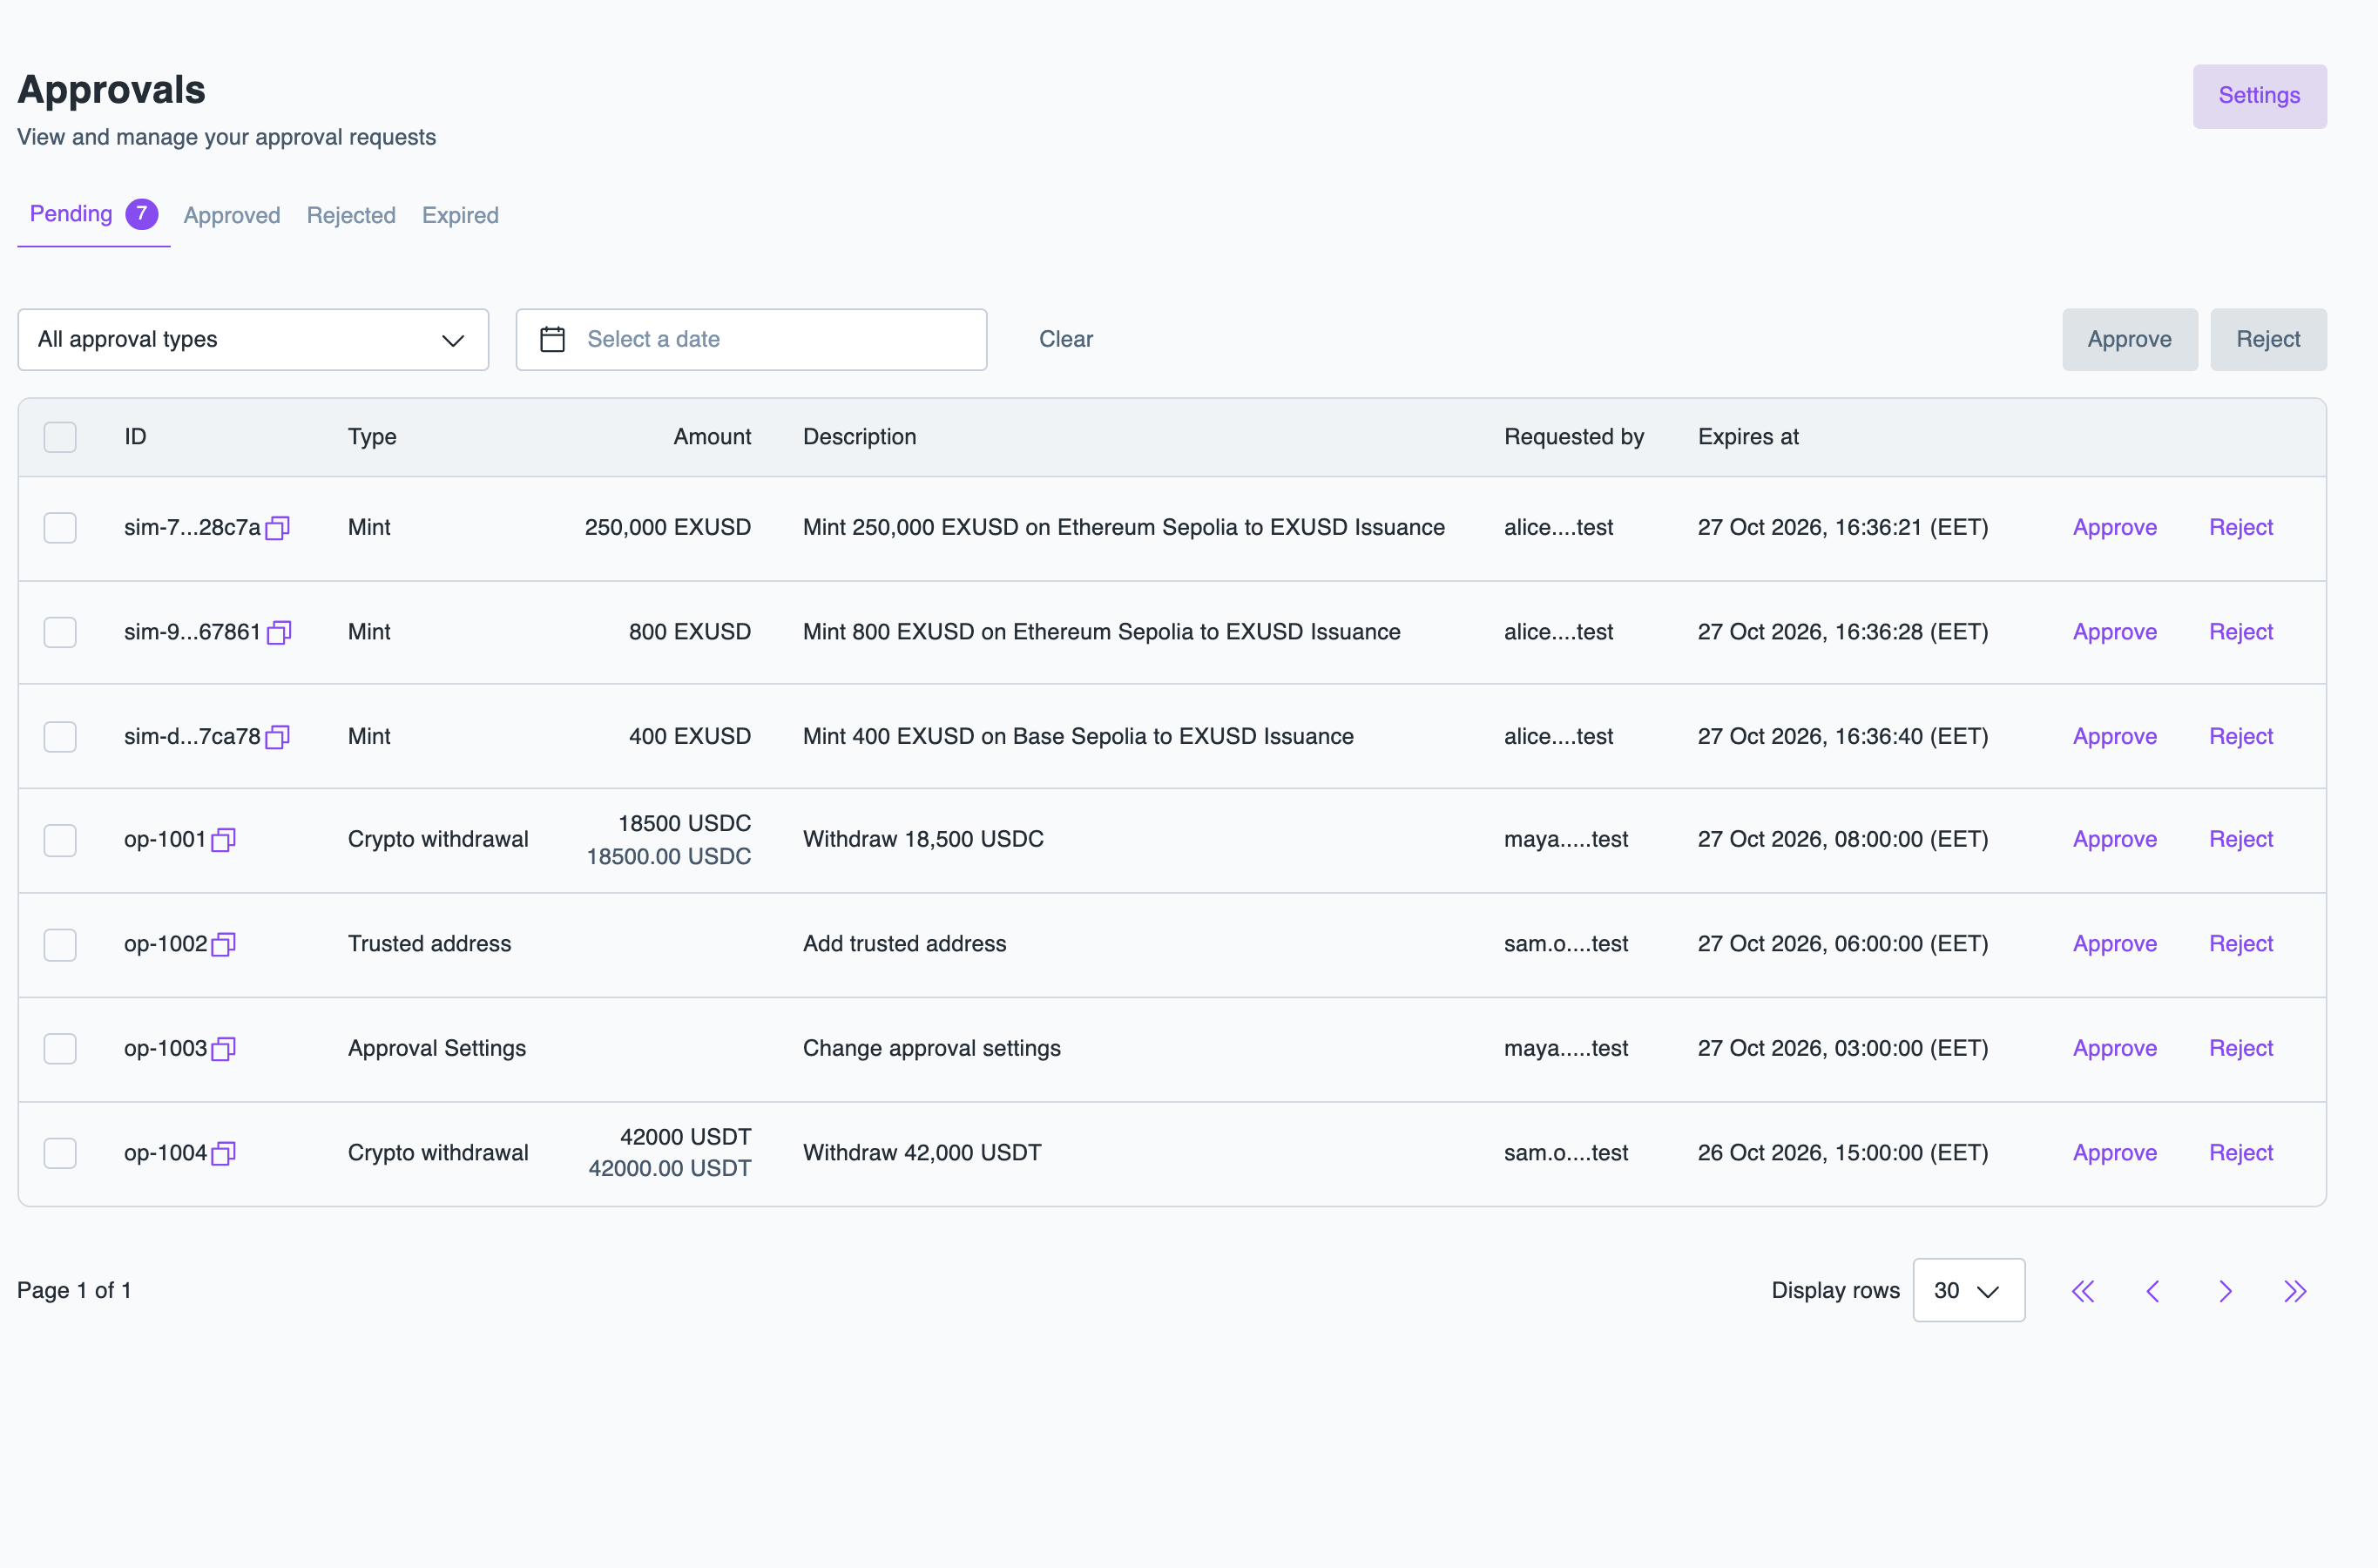
In the Layer1 Portal, go to Approvals and open the Pending tab.
-
To narrow the list, select an approval type or a date.
-
Check the details of the request, and click Approve or Reject. For a rejection, enter the reason. To act on several requests at once, select them and click Approve or Reject above the list.
If the request needs more than one approval, you see "Your vote has been recorded. This request requires approval from additional users."
Approved, rejected, and expired requests appear in the Approved, Rejected, and Expired tabs.
Assign approver roles
To update user roles, you must have the user:operator role.
To assign an approver role to a user, do the following:
-
Go to Manage account > Team members.
-
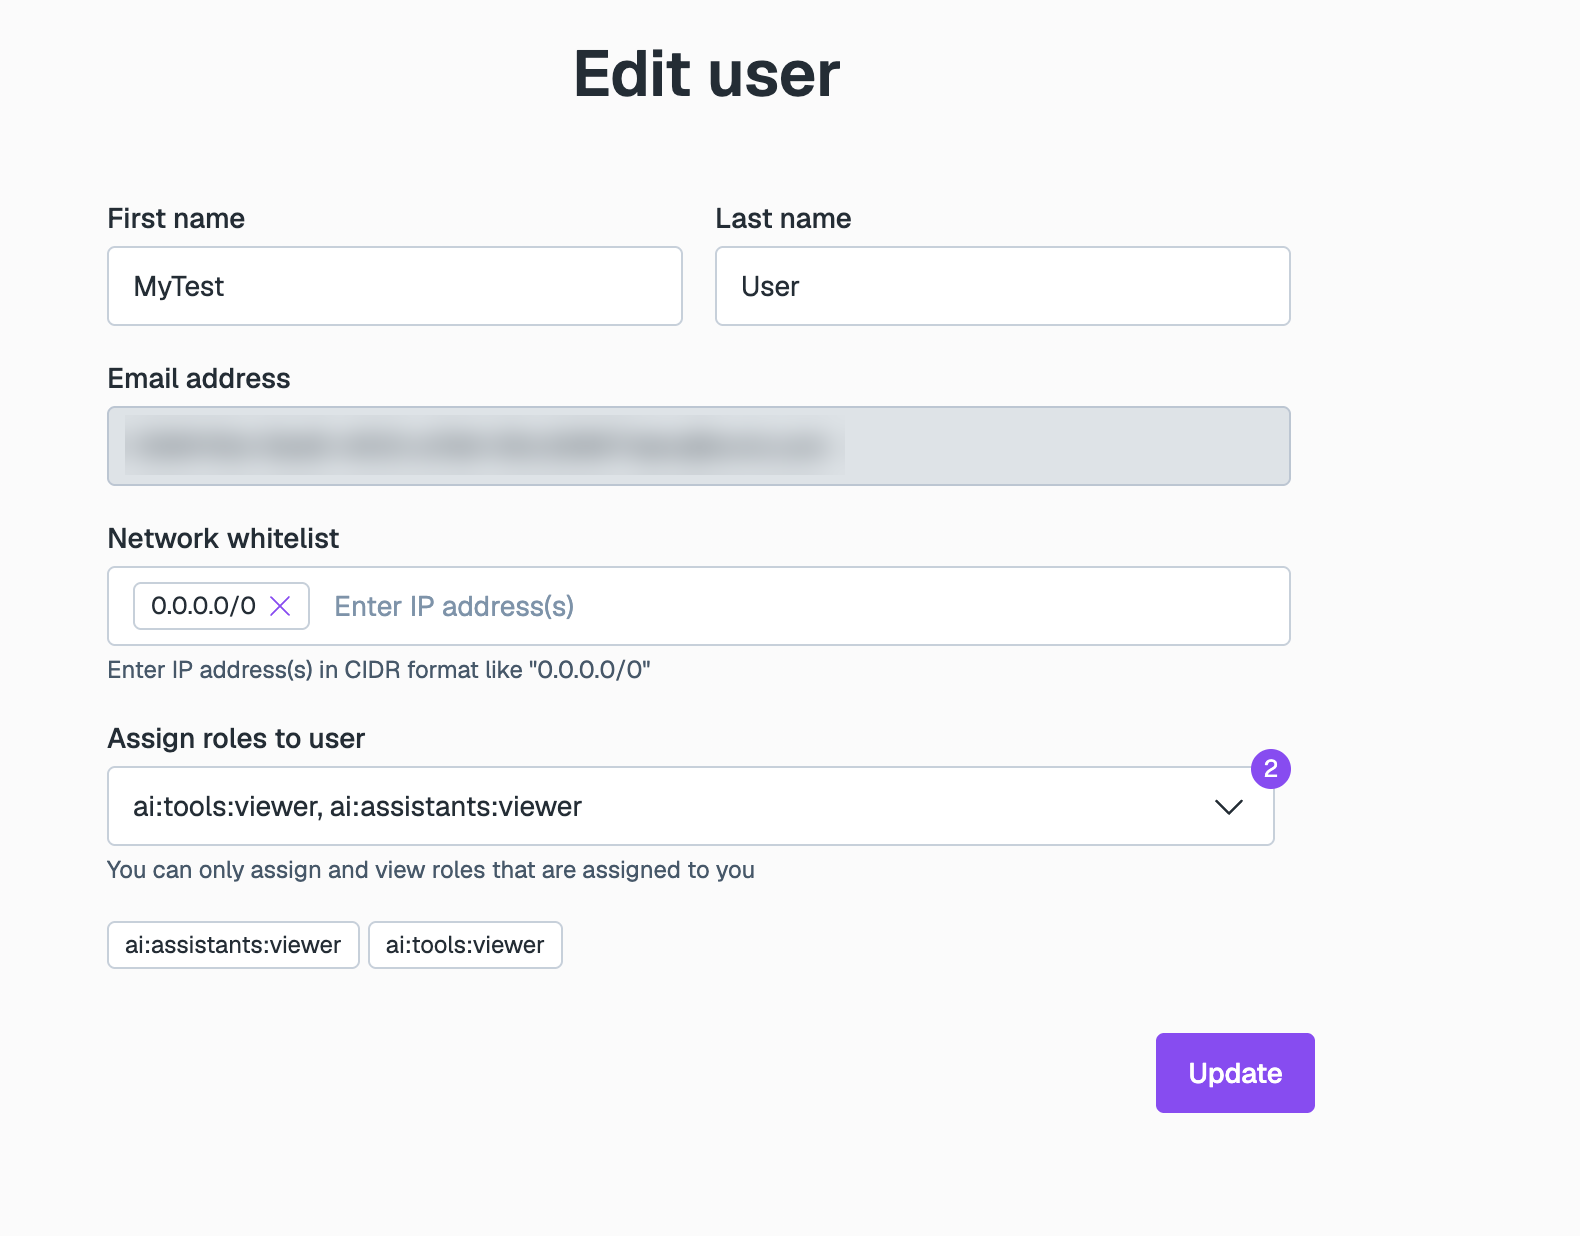
Find the user, open the menu (⋮) next to their name, and click Edit.
-
In the Assign roles to user menu, click the expander arrow to find the approver role and assign it to the user.
-
Click Update.