Prepare for integration
This guide outlines the phases required to integrate BVNK's stablecoin payment capabilities into your platform. The scope of each phase depends on your delivery model—Direct integrations require fewer steps, while Embedded integrations include additional customer onboarding and compliance workflows.
Sandbox account and API credentials
The sandbox environment mirrors production but operates with test data, allowing you to build and validate your integration without financial risk.
Your sandbox account provides access to the BVNK Portal where you manage wallets, configure integrations, and monitor transactions. API credentials use Hawk authentication, a cryptographic scheme that signs each request without exposing your secret key.
When configuring API keys, consider which operations your integration requires. Payouts and withdrawals require IP address whitelisting for security. Read-only operations like fetching transaction data have fewer restrictions.
Steps to complete this phase:
Customer onboarding (Embedded model)
This phase applies only to the Embedded model. Skip to Wallet setup if you are using the Direct model.
The Embedded model allows your platform to offer stablecoin payment capabilities to your customers. Before your customers can transact, they must complete BVNK's compliance onboarding process.
As a partner, you act as the integration layer between your customers and BVNK. You collect customer information through your own onboarding flows, submit it to BVNK via API, and track onboarding status through webhooks or polling. BVNK handles compliance reviews and activates customer accounts once approved.
Steps to complete this phase:
Wallet setup
Create a stablecoin wallet for each currency you plan to use—typically USDT or USDC. Each wallet generates blockchain addresses on supported networks: Ethereum (ERC-20), Tron (TRC-20), or Solana. You specify the network when creating payment channels, not when creating the wallet itself.
For payouts, fund your wallet before initiating transactions. BVNK debits the payout amount plus network fees from your wallet balance when processing the withdrawal. For pay-ins, share the generated deposit address with your payer; incoming funds credit to your wallet after blockchain confirmation.
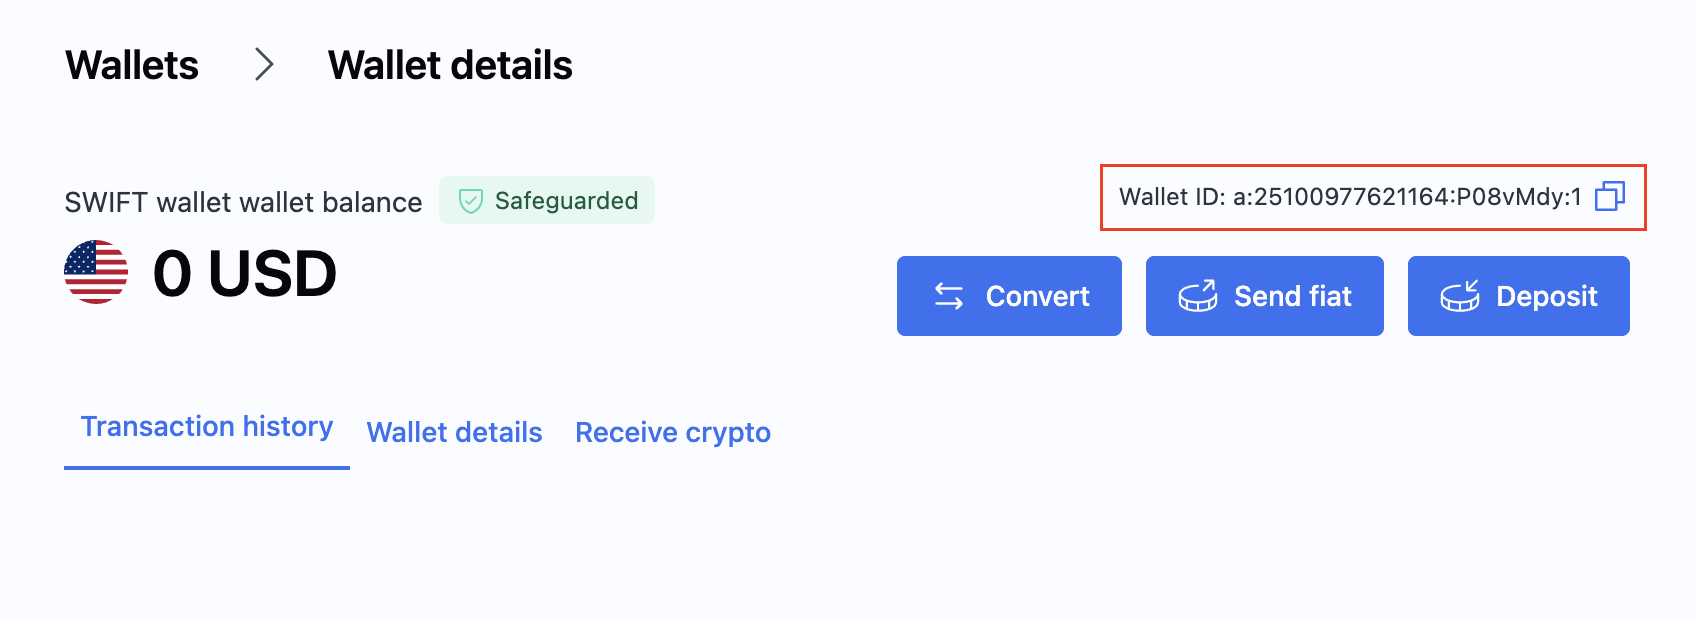
After you have created the wallet, find its ID in the Wallet section on the Portal. You will later need it for creating payments.
See Create a wallet for setup instructions and profile configuration.
Webhook integration
Webhooks provide real-time notifications when transaction states change, eliminating the need for continuous polling.
Your webhook endpoint receives HTTP POST requests from BVNK whenever relevant events occur—payment confirmations, status changes, customer onboarding updates, and more. Design your endpoint to acknowledge receipt immediately (return HTTP 200) and process the event asynchronously to avoid timeouts.
Webhook payloads include cryptographic signatures for authenticity verification. Implement signature validation to ensure requests originate from BVNK and haven't been tampered with.
Steps to complete this phase:
- Configure webhooks for endpoint setup and signature verification examples.
Integration testing
Use the sandbox environment to validate your implementation before going live. Test both success paths and error scenarios to ensure your system handles edge cases gracefully.
For pay-ins, create payment channels and simulate incoming transactions to verify your webhook handling and balance updates. For payouts, send test transactions to destination wallets and confirm delivery. If using the Embedded model, test the full customer onboarding lifecycle.
Optional external wallets like MetaMask (Ethereum) or TronLink (Tron) can simulate end-user interactions during testing.
Go live
Production activation requires coordination with your Account Manager. Sandbox configuration does not transfer automatically—you must replicate settings in your live account.
Update your codebase to use production credentials and endpoints. The base URL changes from https://api.sandbox.bvnk.com/ to https://api.bvnk.com/. Generate new API keys in your live Portal account and configure webhooks with production endpoint URLs.
Before processing real transactions, verify your live wallets have sufficient balance for payouts and confirm all webhook subscriptions are active.
What's next?
Once you have completed all prerequisites above, you can proceed with sending stablecoins via your customers' wallets.